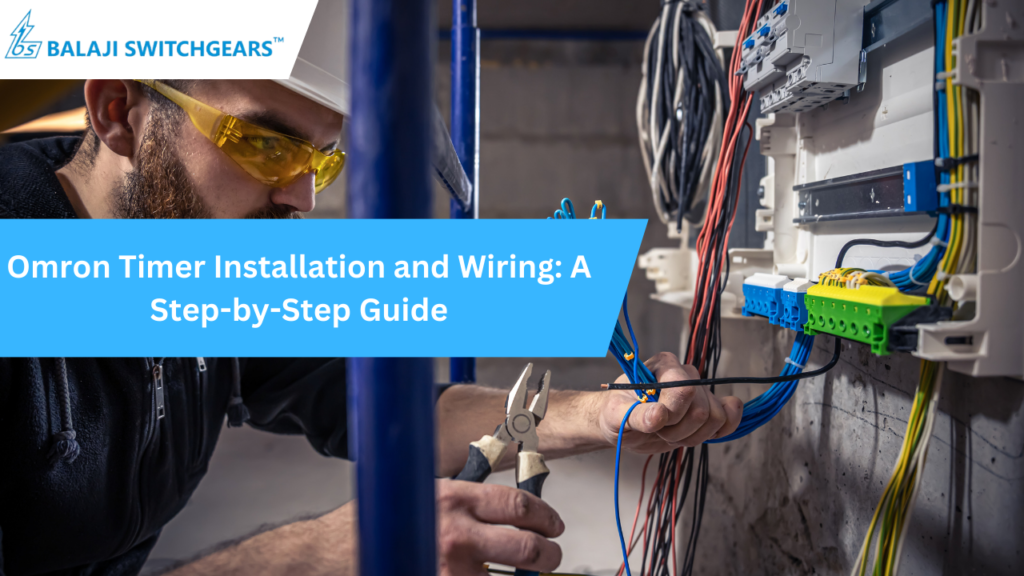
Timers are critical components in automation and electrical systems, playing a pivotal role in ensuring processes are executed efficiently and accurately. Among the leading brands in the timer industry, Omron Timer stands out for its precision, reliability, and ease of use. Whether you’re setting up a timer for industrial machinery or home automation, understanding its installation and wiring is essential.
In this guide, we’ll walk you through the steps of installing and wiring an Omron Timer, ensuring you achieve optimal performance and safety in your electrical system.
Why Choose Omron Timer?
Omron Timer is renowned for its versatility and durability. Whether for industrial automation, HVAC systems, or lighting controls, Omron timers are designed to handle various applications seamlessly. Key features include:
- High Precision: Accurate timing to manage critical operations.
- Durability: Robust design that ensures longevity even in demanding environments.
- Ease of Installation: User-friendly design that simplifies setup and configuration.
- Wide Range: Models suited for different applications, from on/off control to complex sequencing.
Tools You’ll Need for Installation
Before starting the installation, gather the necessary tools:
- Screwdriver set
- Wire strippers
- Multimeter
- Electrical tape
- Mounting screws or DIN rail clips (depending on the installation type)
Step 1: Understanding the Timer Model
Before wiring, familiarize yourself with the Omron Timer model you are using. Omron offers various timer types, including:

- On-Delay Timers: Delay the activation of a circuit.
- Off-Delay Timers: Delay the deactivation of a circuit.
- Multifunction Timers: Offer multiple timing functions in one unit.
Each model comes with a detailed user manual. Ensure you read it thoroughly to understand the timer’s specifications, pin configuration, and wiring diagram.
Step 2: Prepare the Installation Site
Choose a suitable location for installing the timer. It should:

- Be free from dust, moisture, and extreme temperatures.
- Provide easy access for wiring and maintenance.
- Ensure proper ventilation to prevent overheating.
If the timer is mounted on a DIN rail, secure the rail before proceeding. For panel-mounted timers, ensure the panel has the appropriate cutout dimensions.
Step 3: Wiring the Omron Timer
Wiring is a crucial step that requires precision. Here’s a general guide:
- Power Supply Connection:
- Identify the power terminals on the Omron Timer.
- Connect the live (L) and neutral (N) wires to these terminals. Ensure the power supply voltage matches the timer’s specifications.
- Load Connection:
- Identify the output terminals (often labeled NO for normally open and NC for normally closed).
- Connect the load (e.g., motor, lamp, or relay) to the appropriate terminals based on your application.
- Control Signal Wiring:
- For timers requiring external control signals, connect the control device (e.g., push button or switch) to the designated input terminals.
- Grounding:
- Connect the ground wire to the grounding terminal to ensure safety.
Step 4: Configure the Timer Settings
Using the dials or buttons on the timer, configure the desired timing settings. Depending on the model, you may need to:

- Set the timing range (e.g., seconds, minutes, or hours).
- Choose the timing function (e.g., on-delay or off-delay).
Refer to the user manual for detailed instructions on adjusting these settings.
Step 5: Testing the Timer
Before putting the timer into operation, perform the following tests:

- Check Connections: Use a multimeter to ensure all connections are secure and correct.
- Power On: Switch on the power supply and observe the timer’s indicator lights or display for proper functionality.
- Function Test: Simulate the intended operation to verify that the timer is working as expected.
Tips for Safe Installation
- Always turn off the power supply before working on the wiring.
- Use wires of the appropriate gauge to handle the current load.
- Follow the wiring diagram provided in the user manual to avoid errors.
- Double-check all connections to prevent short circuits or equipment damage.
Conclusion
Installing and wiring an Omron Timer doesn’t have to be a daunting task. With the right tools, knowledge, and a step-by-step approach, you can ensure a safe and efficient setup. Whether you’re managing industrial automation or enhancing home systems, Omron Timers provide unmatched precision and reliability.
At Balaji Switchgears, we specialize in supplying premium-quality timers and providing expert guidance for installation and configuration. Our commitment to excellence ensures that you get the most out of your investment in Omron Timer products.
Choose Balaji Switchgears for all your electrical and automation needs, and experience the difference in quality and service. Contact us now to help you power your success with precision and reliability!